
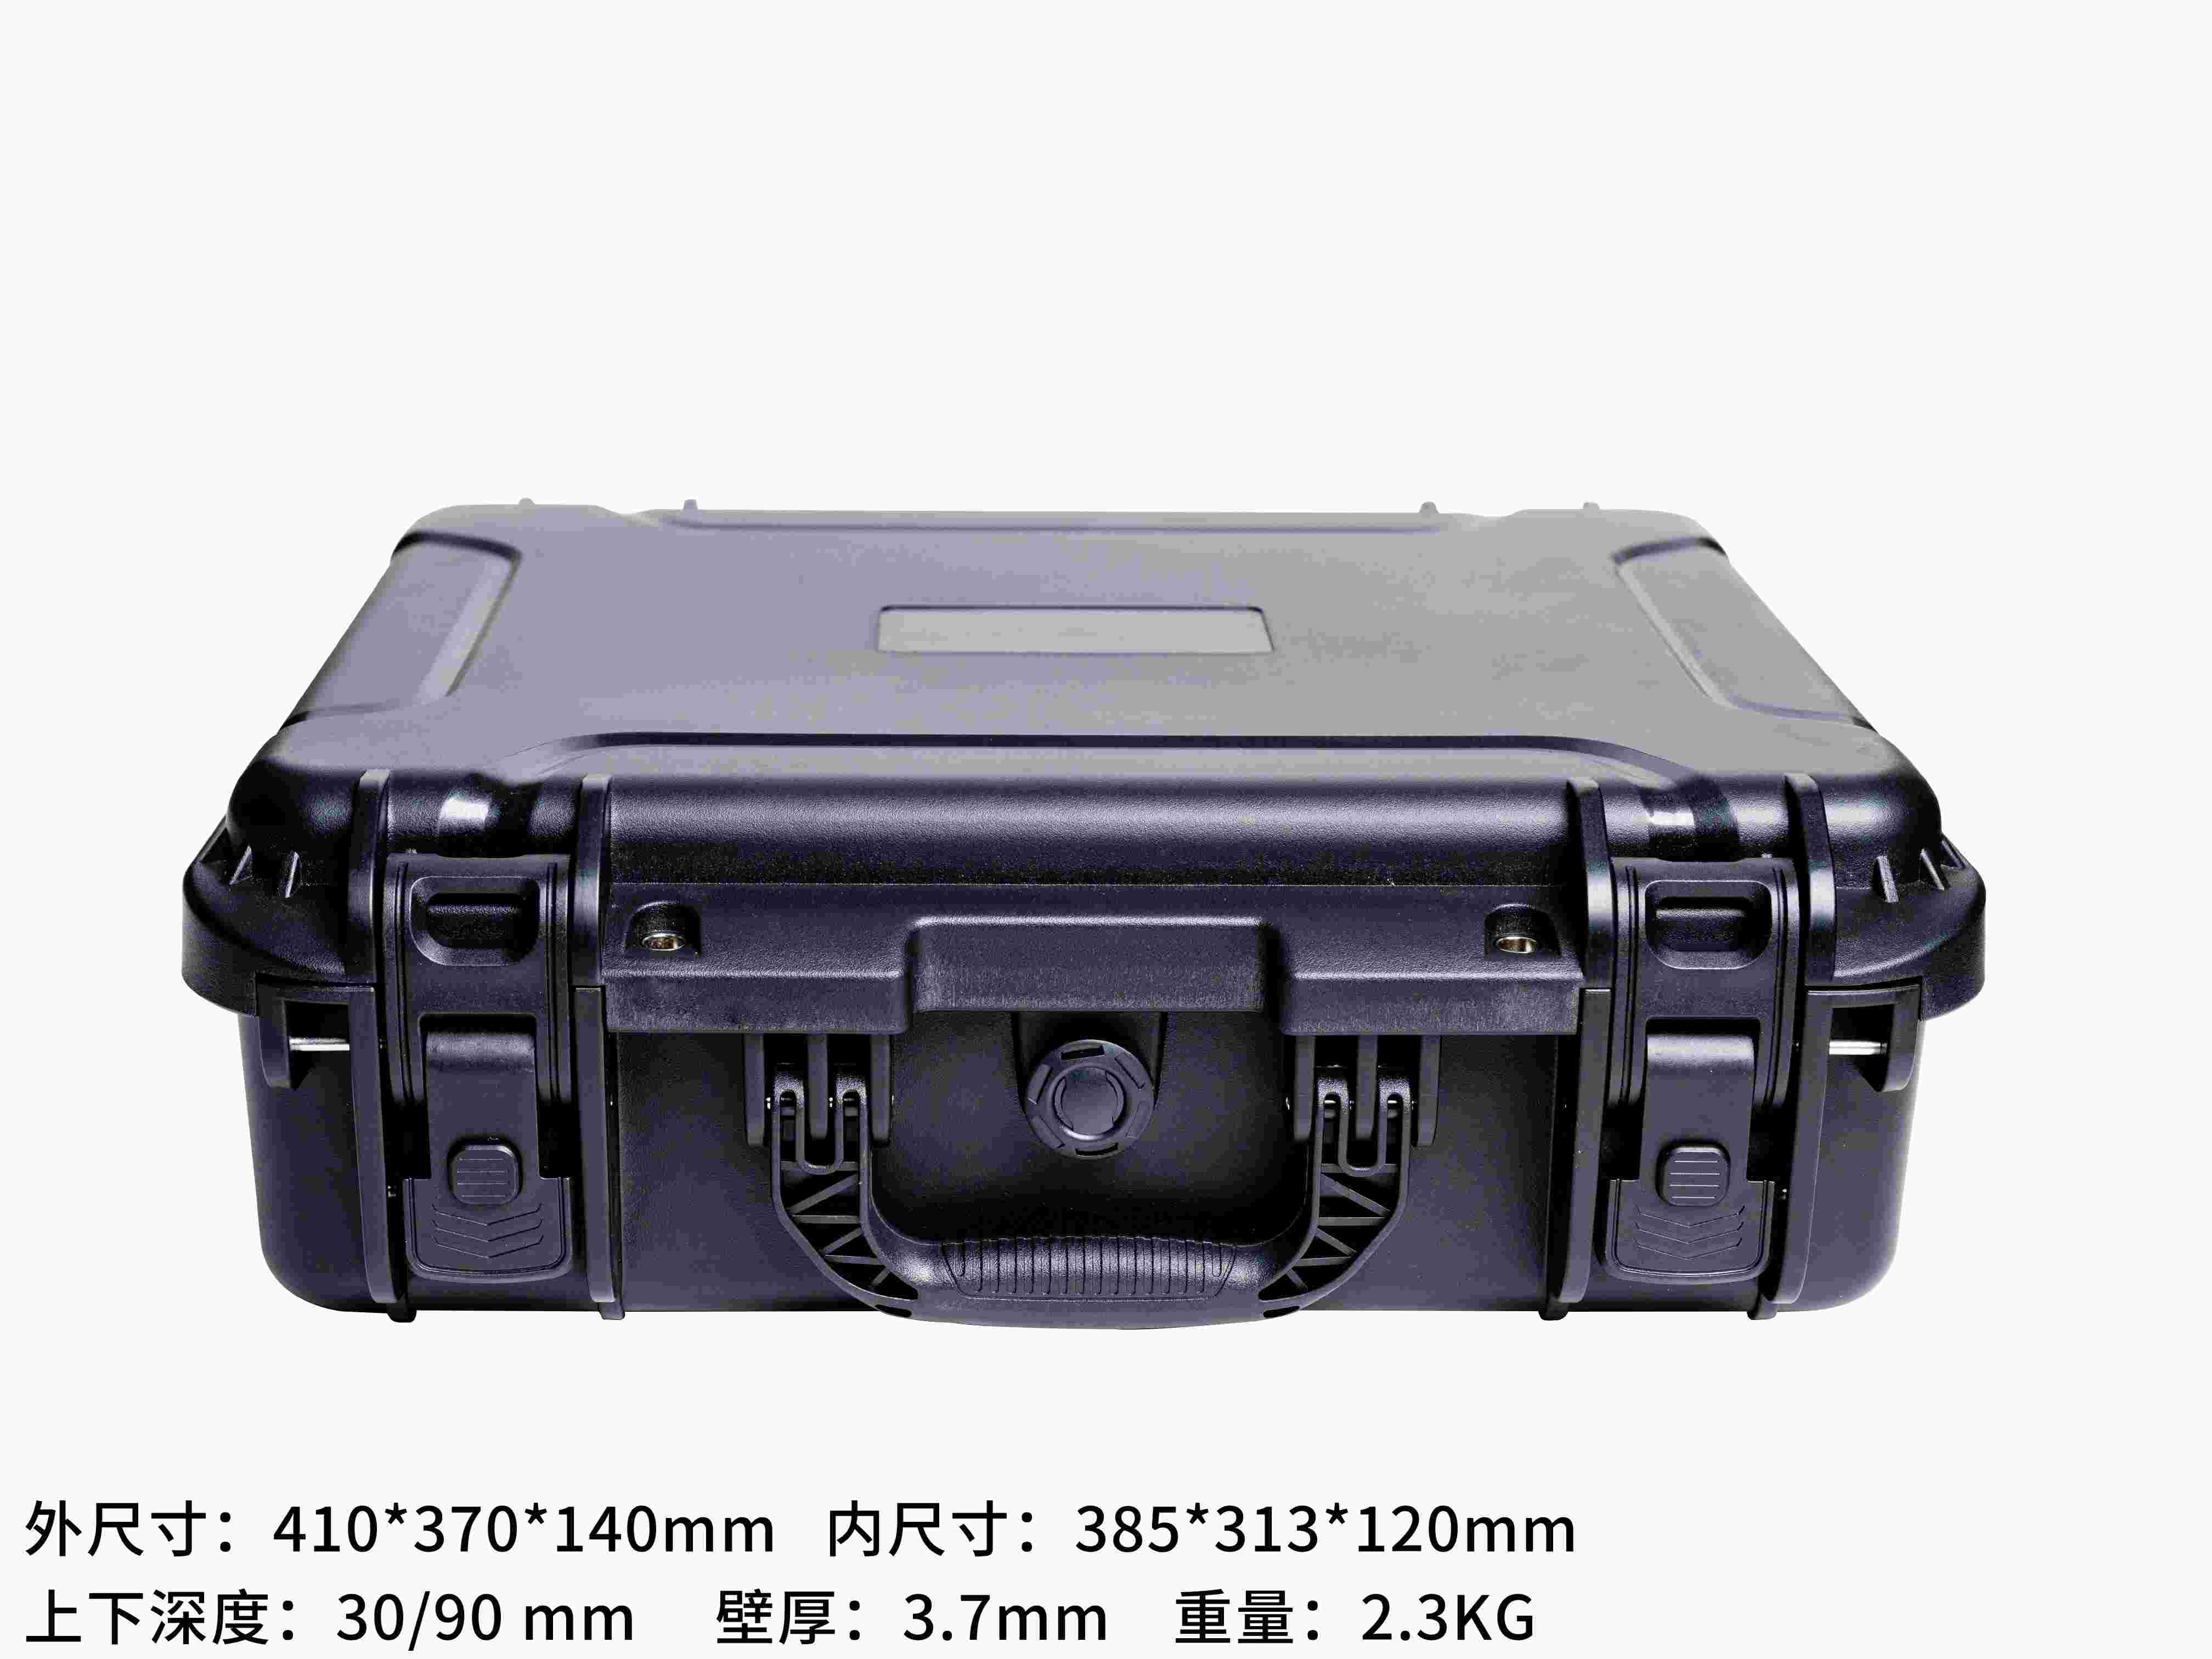
Selecting the correct protective case size is the most consequential purchasing decision you will make — more important than material choice, color, or even brand. A case that is too small cannot protect your equipment. A case that is too large wastes freight costs, increases handling difficulty, and leaves contents vulnerable to internal shifting. This guide walks you through five systematic steps that guarantee the right size selection every time.
Step 1: Accurate Device Measurement
Before you can select a case, you must know your equipment's exact dimensions. This sounds obvious, but measurement errors are the single most common cause of wrong case selection. Follow these measurement protocols:
- Measure in operating configuration: Never measure equipment in its most compact state if you will transport it in an assembled state. A broadcast camera with mounted lens and viewfinder may be 40% larger than the bare camera body. Always measure the exact configuration you will place in the case.
- Include all protrusions: Buttons, knobs, antenna mounts, cable connectors, and carrying handles all extend beyond the nominal device dimensions. Measure to the outermost point of every protrusion. A 1mm overlooked protrusion on each face creates a 2mm error per dimension — enough to prevent the device from fitting in a correctly specified case.
- Use a calibrated steel rule or digital caliper: Tape measures stretch and sag. Wooden rules warp. Use a 300mm digital caliper (±0.02mm accuracy) for small devices and a steel rule for larger equipment. Record all measurements in millimeters to avoid inch-to-millimeter conversion errors.
- Measure three times, record the maximum: Take each dimension three times and use the largest reading. This accounts for measurement uncertainty and ensures the case specification always exceeds the actual device size.
- Create a measurement record card: Document every dimension including the date, measuring instrument, and person who measured. This card becomes the permanent reference for case specification, foam design, and future equipment changes.
Step 2: Foam Clearance Calculation — The Critical Formula
The case's internal dimensions must exceed the device dimensions by enough margin to accommodate foam cushioning and operational clearance. This margin is calculated through a simple but critical formula:
Required Inner Dimension = Device Dimension + 2 × Foam Thickness + Operational Clearance (5-10mm)
Let's break down each component:
- Foam Thickness (per side): This is the minimum foam wall thickness between the device and the case shell. KeXin recommends:
- 15-20mm for lightweight devices (<5 kg) in standard transport conditions
- 25-30mm for medium-weight devices (5-20 kg) or rough handling scenarios
- 35-40mm for heavy devices (>20 kg), high-value instruments, or extreme impact risk
- Operational Clearance (5-10mm): This is the gap between the foam cavity wall and the device surface. It allows the device to be inserted and removed without forcing, accommodates manufacturing tolerances in both foam cutting and case molding, and provides a small reserve for future equipment variants of slightly different dimensions.
Example calculation: A portable ultrasound machine measures 380 × 280 × 120 mm. You select 25mm foam thickness (medium-weight device) and 8mm operational clearance.
Length: 380 + (2 × 25) + 8 = 438mm
Width: 280 + (2 × 25) + 8 = 338mm
Depth: 120 + (2 × 25) + 8 = 178mm
The required inner dimensions are 438 × 338 × 178 mm. Looking at KeXin's Series 8 catalog, the WL805 offers internal dimensions of 490 × 330 × 220 mm — sufficient in length and depth, but 8mm short in width. The WL806 at 500 × 400 × 220 mm accommodates all dimensions with comfortable margin. Always select the case that meets all three dimension requirements simultaneously.
Step 3: Accessory Space and Future Expansion Planning
Beyond the primary device, most professional equipment deployments require accessories. Failing to plan for accessories forces users to carry separate bags, increasing loss risk and deployment time. Consider these accessory categories:
- Cables and connectors: Power cables, data cables, adapter plugs, and connector protectors. Allocate a compartment 30-50mm deep along one side of the case.
- Batteries and chargers: Spare batteries and charging units. These items are often the bulkiest accessories. A battery compartment requires 60-80mm depth and must be separated from the main device cavity by a full foam wall to prevent battery contact with equipment surfaces.
- Documentation and tools: User manuals, calibration certificates, screwdrivers for field adjustments, and cleaning kits. A flat document pocket in the lid foam (10-15mm depth) is the standard approach.
- Future equipment variants: If your organization may upgrade to a newer device model within 2-3 years, add 10-15mm margin on each dimension. This allows a foam redesign for the new model without purchasing a new case.
Recalculate the required inner dimensions after adding accessory space. This often moves the selection from one case size to the next size up. KeXin's sales engineers can assist with this calculation — submit your device dimensions and accessory list through the inquiry form for a personalized size recommendation.
Step 4: Inner vs Outer Dimensions — CRITICAL WARNING
WARNING: The most dangerous mistake in case selection is using OUTER dimensions to judge whether a device will fit. Outer dimensions include wall thickness (typically 2.5-4mm per wall), seal groove depth, and corner reinforcement ribs — all space that is NOT available inside the case.
The difference between inner and outer dimensions varies by case series and size:
- Series 1 (compact PP): Wall thickness ~2.5mm per side, so outer dimensions exceed inner dimensions by approximately 5mm per dimension (2 walls × 2.5mm). Plus seal groove depth of ~3mm on the perimeter dimension.
- Series 6 (ABS): Wall thickness ~3mm per side, so outer exceeds inner by ~6mm per dimension. Plus corner reinforcement adding 2-3mm at corner locations.
- Series 8 (heavy-duty PP): Wall thickness ~3.5-4mm per side, so outer exceeds inner by ~7-8mm per dimension. Plus reinforced corner ribs adding 5-6mm at each corner location on length and width dimensions.
KeXin's product specification pages always list both inner and outer dimensions clearly. When comparing cases from different manufacturers, verify which dimension they list first — some manufacturers highlight outer dimensions prominently and bury inner dimensions in technical specifications, misleading buyers into selecting cases too small for their equipment. Always confirm inner dimensions before purchasing.
Step 5: Transport Compatibility and Restrictions
The case's outer dimensions determine how it fits into transport vehicles, aircraft cabins, and shipping containers. These constraints are independent of equipment size and must be evaluated separately:
Carry-On Air Transport
Most international airlines limit carry-on baggage to 55 × 35 × 20 cm (IATA standard) or 56 × 36 × 23 cm (varies by carrier). KeXin's Series 1 cases WL101 through WL108 and Series 6 WL601 through WL604 fall within these limits. Always verify the specific airline's limits before assuming a case qualifies as carry-on — budget carriers often impose smaller limits than full-service airlines.
Checked Baggage
Checked baggage size limits are generally more generous: 158 cm total (length + width + depth) per IATA standard, with a maximum of 32 kg weight. KeXin cases up to the WL808 size (outer dimensions ~540 × 430 × 260, total ~123 cm) qualify as standard checked baggage. Larger cases exceed checked baggage limits and must be shipped as cargo.
Volumetric Weight
Air freight charges are calculated on volumetric weight when it exceeds actual weight. The volumetric weight formula is: Length × Width × Depth (cm) / 6000. For example, a WL8442 case (outer 880 × 480 × 420) has volumetric weight = 880 × 480 × 420 / 6000 = 29.6 kg. Even if the actual loaded case weighs 20 kg, the freight charge is based on 29.6 kg. This makes case outer dimensions directly relevant to transportation cost.
When choosing between two case sizes that both fit your equipment, always select the smaller one to minimize volumetric weight charges. The only exception is when you need the extra space for accessories or future expansion.
Common Mistakes to Avoid
KeXin's sales team encounters these sizing errors repeatedly. Learn from others' mistakes:
- Mistake 1: Using outer dimensions as fit criteria. This is the #1 error. A case with outer dimensions matching your device will not fit the device because wall thickness consumes the matching margin. Always use inner dimensions.
- Mistake 2: Ignoring foam thickness in size calculation. Selecting a case where inner dimensions exactly match device dimensions leaves zero room for foam. Without foam, the device rattles inside the case, suffering impact damage directly on the shell walls. Always add 2 × foam thickness to device dimensions.
- Mistake 3: Measuring equipment in storage configuration. A laptop measured folded will not fit a foam cavity designed for the folded measurement when the user needs to store it opened with a docking station attached. Always measure in the configuration that will actually go into the case.
- Mistake 4: Not accounting for accessories. The ultrasound machine fits the case perfectly, but where do the three probe cables, power adapter, and user manual go? If accessories don't fit in the same case, they travel separately — and separately means risk of loss, misrouting, and delayed deployment.
- Mistake 5: Choosing a case "just slightly larger." A case that exceeds required dimensions by only 5-10mm per side may seem efficient, but it leaves no margin for foam cutting tolerance (±1mm), case molding tolerance (±2mm), or future equipment changes. KeXin recommends 10-15mm surplus per dimension for standard applications and 20mm for high-value or frequently reconfigured equipment.
- Mistake 6: Ignoring transport weight limits. A case that perfectly fits your heavy industrial instrument may exceed the 32 kg checked baggage limit, forcing you to ship it as air cargo at 3-5× the cost of checked baggage. Calculate loaded case weight before finalizing size selection.
Conclusion
Correct protective case sizing follows a systematic process: measure precisely, calculate foam clearance using the formula, add accessory space, confirm inner dimensions (never outer), and check transport compatibility. KeXin provides detailed dimension specifications for every model on the products page and offers free size recommendation through the inquiry form. Submit your device dimensions and let our engineers calculate the optimal case size for you.